


👋 Nero Spring Offer
Nero Platinum Suite 2024
The award-winning multimedia power package - save permanently now!
+++ Nero Platinum Suite 2024 - this is NEW! +++
Enjoy many new features as well as stability and performance improvements.
🔍 Discover all the novelties in the product video.
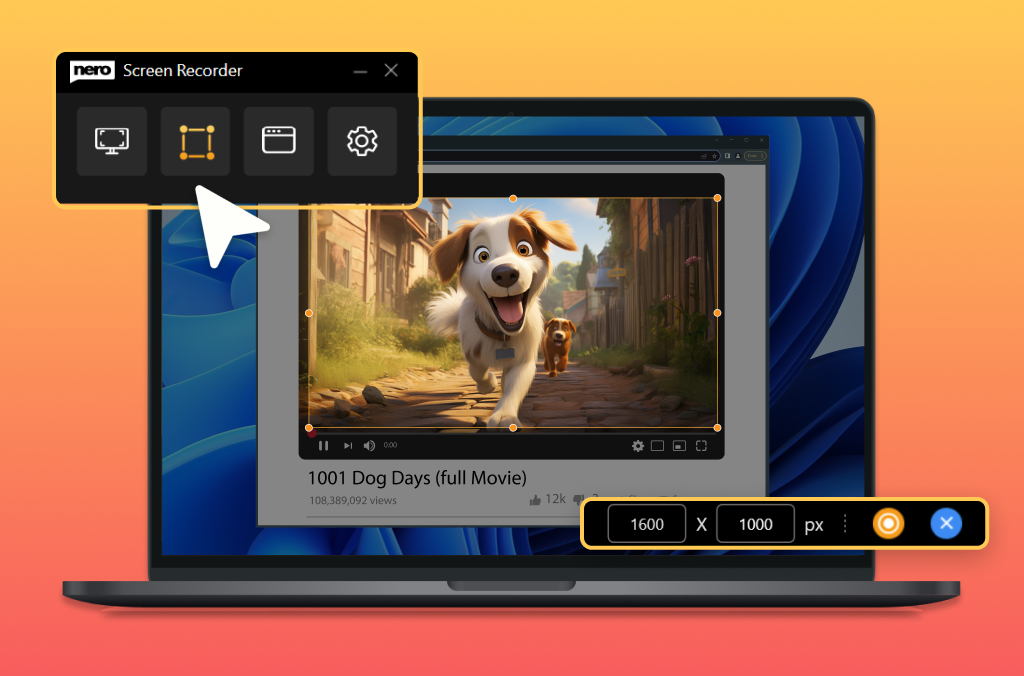
Nero Screen Recorder
NEW: The user-friendly screen recorder. Create screen recordings according to your ideas with one click.
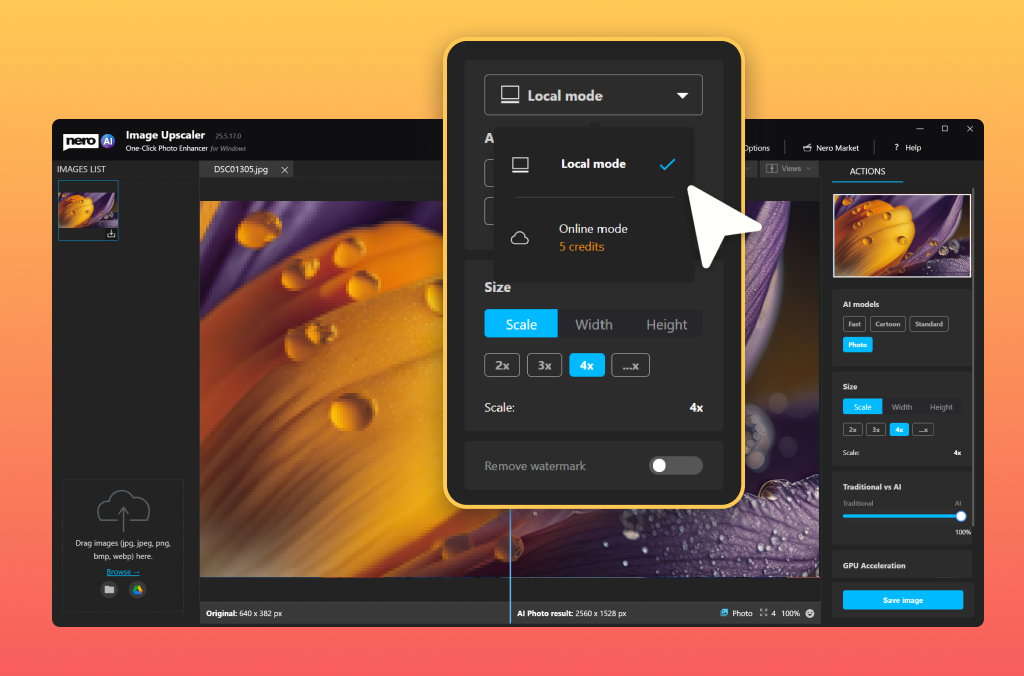
Nero AI Image Upscaler
NEW: Now extended with many PRO features: More upscale models to choose from, support for the popular .webp format
Nero Motion Tracker
NEW: Enhance or anonymize videos: Easily add clipart (e.g. emojis) or scrolling text to your videos.
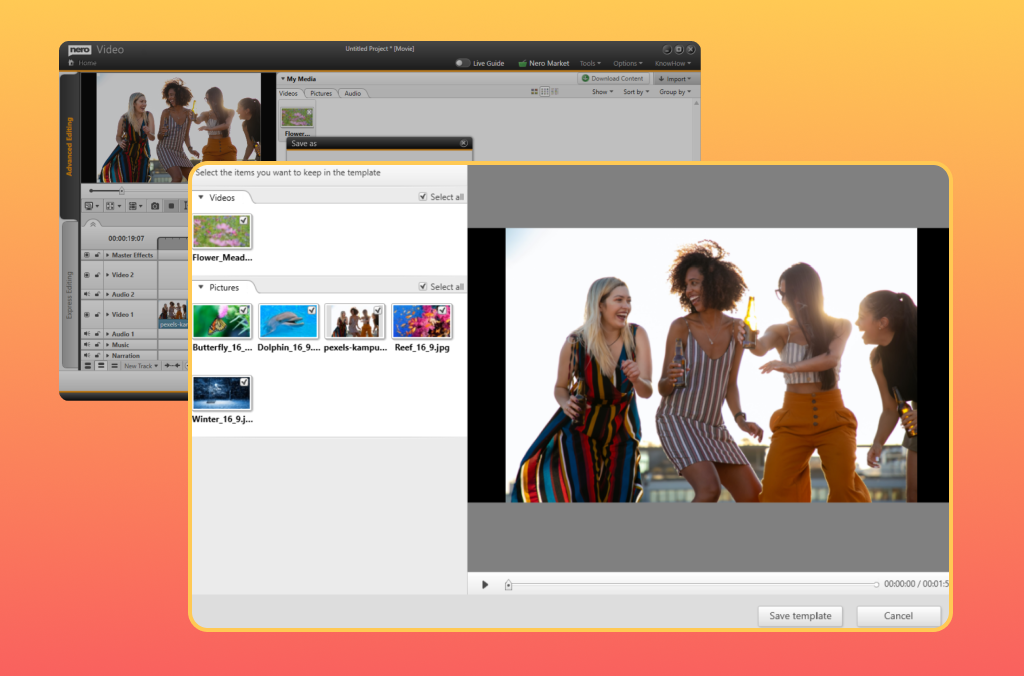
Nero Video
NEW: Improved workflow: Save your own projects as templates, saving a lot of precious time. You'll also find many new video templates.
For many applications
👉 Click now: Virtual preview of the software 👈
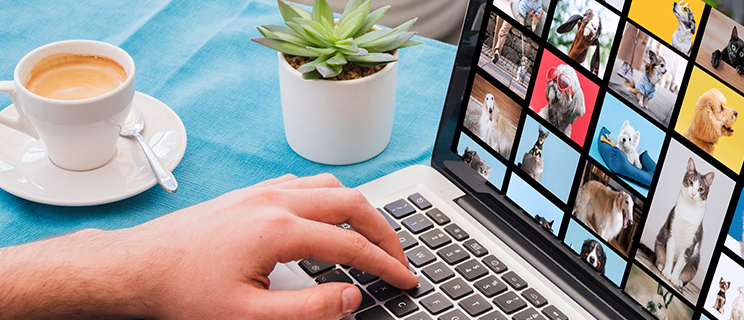
Never again chaos in your beloved photo album thanks to new Nero AI: Now you can organize photos, tag, rate, and search images even easier. AI-based scene recognition keeps you on top of things, you can assign names to faces, and duplicate or similar images are detected faster and are easy to delete. Sort your photos by location and view your adventures on the world map, or view all your photos in an easy-to-read timeline. 1-click photo editing is included, of course. And it works locally on your PC, no cloud required!

Create a small movie masterpiece from your moving memories in no time at all: Hundreds of high-quality theme templates for holidays, occasions and events support you in doing so. Great effects add professional polish: create videos with picture-in-picture, alpha channel, tilt-shift, slow motion and time-lapse effects. Edit, trim and export your videos. Get sharper than reality with the 8K playback feature. Impress your friends and stream your masterpiece on the big TV. As a gift, you can burn your movie to an optical disc.
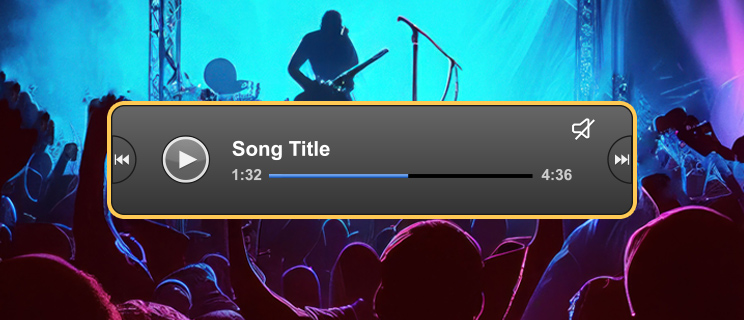
Music invigorates the mind! Now enjoy and discover your stars in a whole new way: Save your favorite songs from all music streaming services easily, quickly, legally and in the best quality. Edit and trim your music files to your liking (effects, fade-in/out, volume, etc.). Import your CD collection and easily edit metadata like artist, genre and album art.
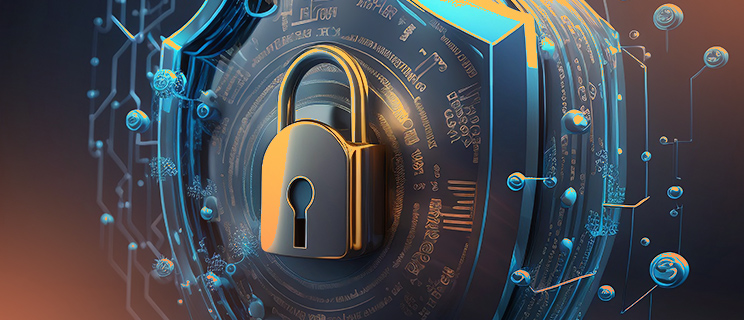
Your data is important to us! Convenient and secure backup solutions for you: Back up your valuable data quickly and easily to external hard drives, optical media and now even to your cloud (Google Drive, OneDrive, MagentaCLOUD, HiDrive, pCloud and QLOUD). Create automated backups, incremental snapshots and version management. Protect your data with 256-bit encryption for CDs, DVDs and USB sticks.
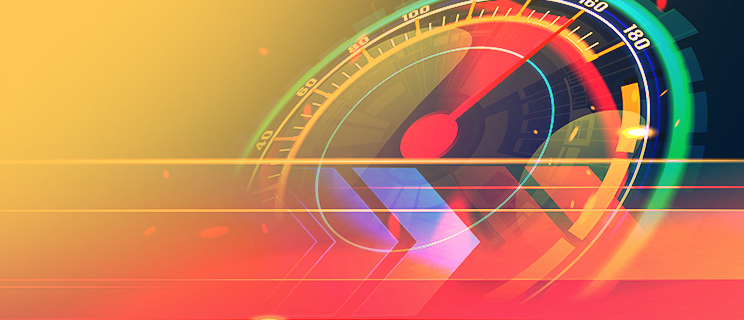
Nothing is more annoying than a slow PC. We'll give you more performance: From now on, optimize and speed up like a pro: Nero will make your PC faster, update your drivers, and improve your Internet speed. We give you total control over your PC performance. You decide whether you want to solve PC problems one by one or all at once.
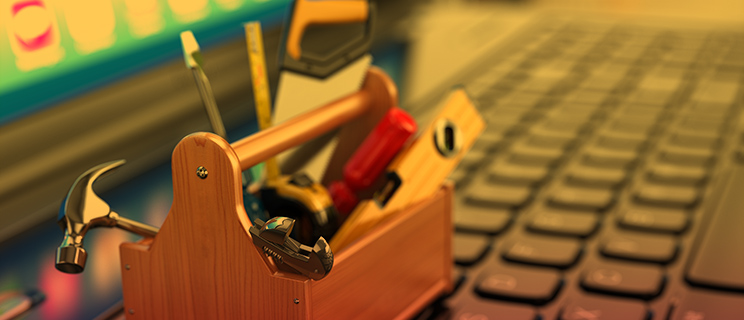
Nero Platinum offers many other tools that perfectly complement your Windows PC: e.g. by recovering deleted data, easily encrypting your personal data, or reliably formatting and duplicating media. With Nero Platinum you get a toolbox that equips you for all eventualities.
What do I get with Nero Platinum Suite?
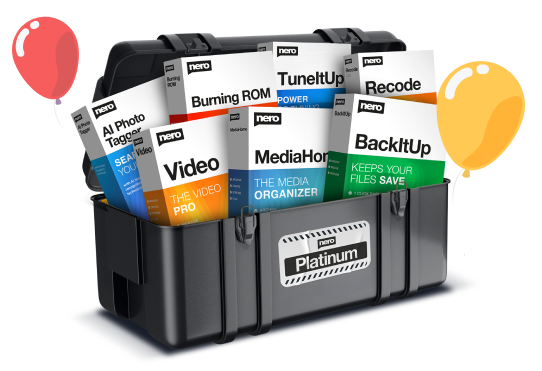
- Nero AI Photo Tagger: Order and structure in your photo archive thanks to artificial intelligence.
- Nero Score: Take a speed test and push your PC to its limits
- Nero Video: Create, edit and export videos and slideshows.
- Nero Motion Tracker: Automatically detect and pixelate moving objects
- Nero AI Image Upscaler: Simply upscale images (Only included in the version 1 PC / 1 year.)
- Nero Screen Recorder: Create screen recordings according to your ideas with one click. (Only the basic version is included)
- Nero DuplicateManager: Cleans your image archive of exact, duplicate and similar images quickly and accurately.
- Nero MediaHome: The central software for archiving, sorting, creating and playing your files.
- Nero BackItUp: Backs up your data quickly and easily to an external hard drive, optical media, or the cloud.
- Nero Recode: Convert and rip videos and music to all standard formats for your mobile devices.
- Nero Burning ROM: Rip, copy, burn and protect data.
- Nero TuneItUp PRO: Makes your PC faster and improves your internet speed. (Only included in the version 1 PC / 1 year.)
- Nero USBxCopy: This tool helps you to copy your data to multiple USB devices at the same time
- Nero PhotoSnap: Let your photos shine in new splendor
- Nero Soundtrax: Digitize sound carriers and implement audio projects
- Nero WaveEditor: Record sound from PC and record audio files
- Nero Express: Burn data and media easily
- Nero CoverDesigner: Customize your discs
- Nero Face Beautifier Remove wrinkles and improve your skin tone so that you shine in the best light
- Nero Rescue Agent: Recover files from damaged discs and drives
- Nero Disc to Device: Transfer media from discs to devices
Nero in numbers
Satisfaction
Installations
Languages
Solutions
What our customers say
Richard Simon

This is a service that others have to imitate. I made a mistake with an incorrect email when ordering. Nero helped me quickly, in a qualified manner and without any problems. Great. Thank you.
Domingo Lastres

Nero Platinum Suite 2023 is a great product. I am thrilled with what it can do. On my old computer I had already used Nero 2017 with success. Thanks again.
Heiko Müller
Fast and competent customer service. Many thanks.
A real price-performance hammer
The new Nero Platinum Suite 2024:
The comprehensive software collection for your Windows PC is a true all-rounder for mastering your digital projects quickly and easily.
Burn, manage, optimise and edit all your photos, videos and music files:
Play it safe
Easy & secure payment


Buy without risk
100% money backguarantee.
The Original
